


Technology
Manufacturing process of welded can
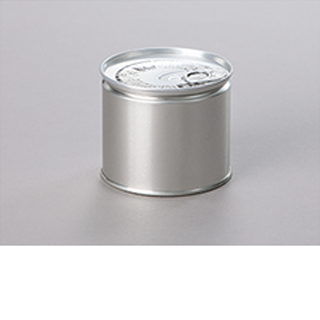
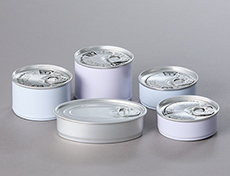
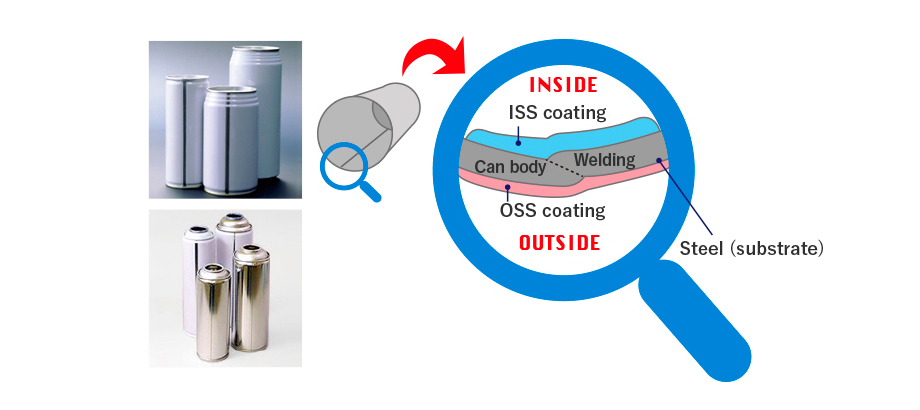
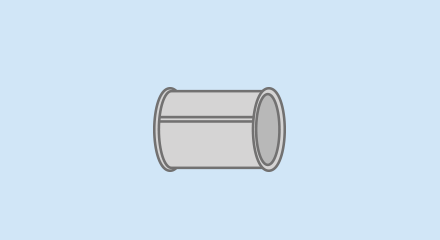
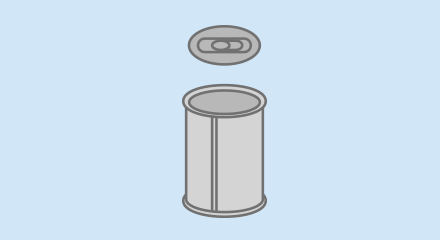
3-piece cans comprise three main components; a can body, a can top end and a can bottom end.
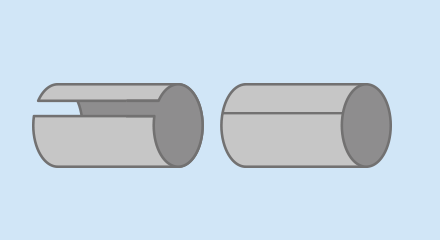
While the body of 2-piece can is pressed and integrated with can bottom, that of 3-piece cans is made from a flat steel sheet (or blank sheet) cut into the can size which is rolled and side-seamed to form a cylindrical shape.
There are two types of side seaming methods, soldering and welding. Here, only the welded can is mentioned since the soldered cans have almost disappeared from the market.
Can body side seam of the welded can is sealed by “seam welding”, a type of electric resistance welding. Both ends of the blank sheet are superposed and welded with thermal resistance to form a cylindrical can body.
Thin copper wire is used for electrode.
As the steel substrate dissolves at the welding spot along the can body side seam, resulting in surface oxidization and degradation in corrosion resistance, repair coating is required on both the internal and external surfaces to prevent corrosion.
Welded side seam is repaired with OSS (outside side seam striping) coating on the outside to prevent rust, and with ISS (inside side seam striping) coating on the inside to protect the contents.
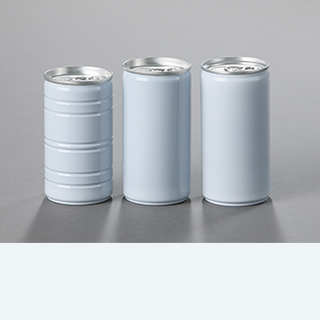
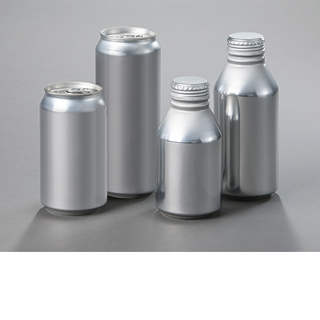
The welded can comes in various sizes and is widely used for beverage, food and aerosol products.
Can making process of 3-piece can (coating and printing)
3-piece cans are manufactured on three separate production lines; coating, printing and can making lines.
Coating process
*At least once each on the internal and exterior surfaces.
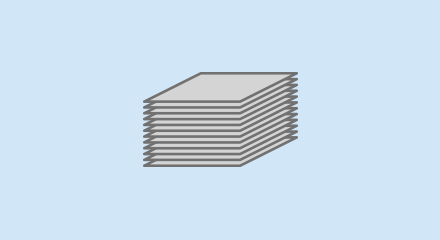
- Sheet feeder
- Feed sheets from sheet stack.
- Coater
- Apply coatings on the sheet.
-
- Sheet oven
- Dry and bake coatings at high temperature.
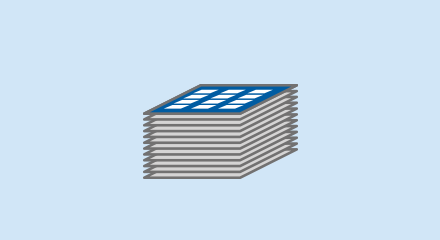
- Sheet piler
- Stack the sheets coming out of the oven.
Printing process
*The process is repeated according to the number of colors (coating is applied once in the final round of the process).
- Sheet feeder
- Feed coated sheets from sheet stack.

- Printer
- There are two printers, transferring ink to each sheet for printing.
-
- Coater
- Coat clear varnish on the surface.
-
- Sheet oven
- Dry and bake coatings at high temperature.
-
- Turn wheel
- Turn over the sheets for the downstream process.
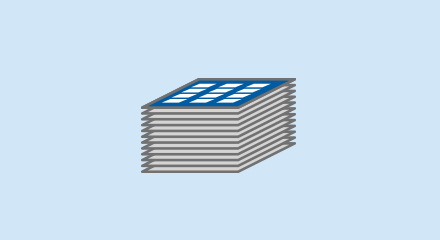
- Sheet piler
- Stack the sheets coming out of the oven.
Can making process
- Sheet feeder
- Feed printed sheets from sheet stack.

- Slitter
- Cut sheets into a can size.
- Welder
- Weld can body side seam after rolling, and apply repair coating along the side seam.
-
- Oven
- Bake the coatings.
- Necker/Flanger
- Narrow down and flange can top.
- Seamer
- Seam can top end or bottom end with the can body.
-
- Air tester
- Blow air inside the can to check leakage.
- Palletizer
- Pile up cans on pallets.

- End seaming (by customers)
Contact us
Return to Technologies